How to Make a Gift Bag at Home
Last updated: October 27, 2026
Quick Answer: In about 15 to 20 minutes, you can make a simple homemade gift bag with one sheet of craft paper, scissors, a ruler, tape or glue, a hole punch, and ribbon. The basic method is straightforward: size the sheet to the gift, form a boxy tube, close the bottom, then add handles that can carry the weight without tearing. No magic, just paper and patience.
Key takeaways
- Start with a sheet that leaves enough extra height and width for folds, seams, and the bottom gusset.
- Craft paper usually gives the cleanest structure; thin decorative paper looks nicer but tears faster.
- Reinforce the top edge and handle holes if the bag will hold anything heavier than a folded T-shirt or a small box.
- A homemade gift bag works best for square or rectangular gifts, not long, awkward, or very heavy items.
- Ribbon handles are quick, while paper handles match the bag better and hold their shape more firmly.
What you need before you start
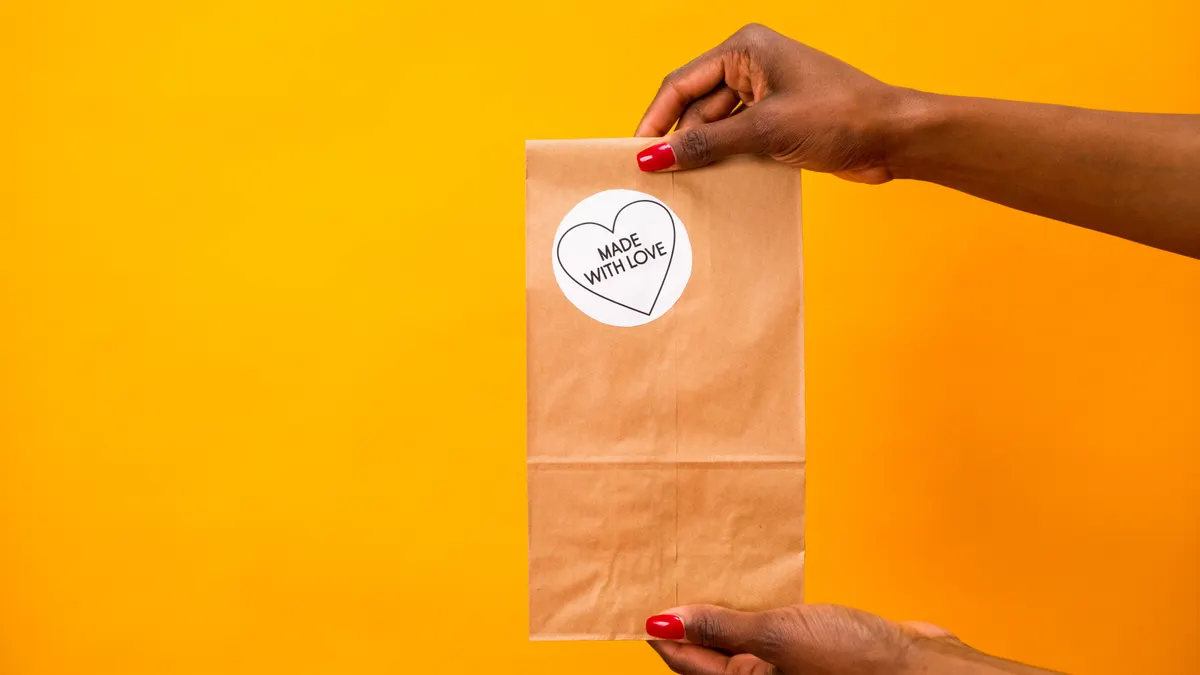
You need one sheet of craft paper, scissors, a ruler, pencil, tape or glue, a hole punch, ribbon, and a gift tag. For a small bag, a sheet around 12 by 18 inches is enough; for a medium bag, start closer to 18 by 24 inches. The size depends on the gift, but the paper has to be large enough to wrap around it with at least 1 inch for a seam and several inches left over for the bottom folds.
Choose craft paper if the bag needs to stand up and carry weight. Very thin wrapping paper is a poor structural choice unless you plan to line or reinforce it. When the gift is small, you can make the bag from the same kind of paper used for packaging kraft envelopes or lunch sacks, but plain kraft is usually sturdier and easier to fold cleanly. Honestly, the plain look often wins here.
Set the gift beside the sheet before cutting. That quick check — or a quick consult with a craft or packaging professional if the item is unusually shaped — helps avoid the classic headache: a bag that is tall enough but too narrow to close without puckering. Is the item a box? Measure its height, width, and depth. Add about 2 inches to the width for side overlap and 4 to 6 inches to the height for the top fold and handle area.
How do you size a homemade gift bag correctly?
You size a homemade gift bag by building it around the gift’s width, depth, and height, then adding extra room for seams and folds. The bag needs enough allowance to turn a flat sheet into a tube, flatten the bottom, and still leave a clean top edge.
For a rectangular box, use this quick planning method. Cut the sheet so its width is roughly the gift’s circumference plus 1 to 2 inches for overlap. Its height should be the gift’s height plus at least 4 inches. That extra height is not decoration; it pays for the top fold, handle reinforcement, and a little slack so the gift can slide in without scraping the edge.
Do not cut it too tight if you want the bag to stand neatly. A bag with no margin often bows at the sides and wrinkles at the base. That is especially true with heavier items such as candles, jars, or boxed cosmetics. Those gifts ask for more structure than a card, scarf, or gift card envelope. Like a shoe box squeezed into a lunch sack, it stops working fast.
One practical rule: if the gift is nearly the same width as the sheet you have, choose a larger sheet. Tight dimensions leave no room for a seam or bottom flap, and the finished bag will look forced. A little extra size is easier to trim than a bag that cannot close.
Build the bag body from the sheet
Build the bag body by folding the paper into a tube, sealing the side seam, and squaring the bottom. That gives you the structure before you add handles or decorations.
- Lay the sheet face down on a flat table and fold one long edge over by about 1 inch. This creates a seam allowance; when it works, you have a narrow flap that overlaps the opposite edge cleanly.
- Bring the opposite long edge to meet the folded flap and secure the seam with tape or glue. If the paper is delicate or the gift is heavy, consult a craft or packaging professional about the safest adhesive, since a smooth seam helps the tube stay closed without bulging at the side.
- Flatten the tube so the seam runs down one side, then press the bottom edge flat. You should see a rectangle with two open ends and crisp vertical sides.
- Open one bottom end and fold it upward by about 2 to 3 inches, depending on bag size. This fold becomes the base; it should sit square rather than slanting.
- At each corner of the folded bottom, create two diagonal folds inward so the end looks like a diamond. If the folds are correct, the corners collapse neatly and the bottom lies flatter.
- Fold the lower section back up over the diamond and tape or glue the flap closed. The bottom should feel firm when you press it with one hand.
- Stand the bag upright and shape the corners with your fingers. A successful bag will hold itself open without springing flat again.
If the bottom looks uneven, fix it before moving on. A skewed base makes the bag lean, which puts extra strain on the handle holes later. For small gifts, a bottom fold of about 2 inches is usually enough. For larger gifts, a 3-inch fold gives more support.
This is the stage where many homemade bags fail. People rush the bottom, then blame the handles when the bag sags. The base does more work than it seems to. If you want the bag to carry something heavier than a light trinket, make the base as flat and square as you can.
How to make handles that actually hold
Make handles that actually hold by reinforcing the top edge first, then punching holes through the doubled layer and threading ribbon or paper handles through them. Without that reinforcement, the top can tear near the holes.
Cut the top of the bag so it is even all the way across. Then fold the top edge down by 1 inch and press it flat. That double layer matters because a single sheet around the holes can rip under load, especially if the gift shifts while being carried.
Use a hole punch to make two holes on each side, about 1 inch from the side edges and about 1 inch below the top fold. The holes should line up across from each other so the handles sit level. Too close to the edge, and the paper weakens. Too low, and the handle rides awkwardly against the bag opening.
For ribbon handles, cut two equal lengths, usually 10 to 14 inches for a small bag and longer for a taller one. Thread each ribbon through one pair of holes from the outside in, then knot the ends inside the bag. That hides the knots and keeps the handle end from slipping out.
For paper handles, cut two strips about 1 inch wide and fold each strip lengthwise into a tight band. You can glue the fold, let it set for a few minutes, then thread the band through the holes and knot or staple the ends inside. Paper handles look cohesive, but ribbon is often the stronger choice for everyday use, and it is still one of the easiest ways to finish the bag cleanly. A neat finish is nice; a handle that survives the walk home is nicer.
If you want the handles to feel sturdier, slide a small strip of kraft paper under the top fold before punching the holes. That adds another layer without changing the look much. If you are unsure whether the gift needs more support, check the load with the gift inside before you tie everything off.
Reinforcement tricks for a cleaner, stronger bag
You reinforce a gift bag by doubling stress points: the top edge, the handle holes, and the base. Those three places take most of the strain, and a few extra layers make the bag last longer.
Start with the top edge. A folded-over hem of 1 inch is the simplest reinforcement, but you can also glue a narrow strip of paper inside the fold if the material is thin. That trick helps when you are using decorative sheets that look good but are not built for weight.
Next, protect the handle holes. A hole punch gives a cleaner opening than scissors and tears less at the edge. If you only have a scissors tip, make the smallest slit possible and avoid jagged cuts. A rough opening spreads faster when ribbon pulls against it.
The bottom can also use a patch. If the gift is dense, tape a small square of craft paper or cardstock inside the base before closing it. This is useful for jars, candles, and boxed items with sharp corners. It gives the bottom a little more resistance without making the bag bulky.
Do not overdo reinforcement. Too much tape on the outside makes the bag look clumsy and can keep it from folding nicely. A tidy homemade bag depends on restraint as much as on strength. One or two well-placed layers usually do more than a full ring of tape. More tape is not always better; it can turn neat paper into a lumpy mess.
If you are making several bags at once, keep the reinforcement pattern the same for each one. Matching handle placement and fold width makes the bags look intentional, not improvised.
Choose the right look for the gift you are giving
Choose the right look by matching the bag’s strength and finish to the gift inside it. A casual brown craft bag suits everyday items; a lined or decorated bag suits birthdays, holidays, and small celebratory gifts.
Plain craft paper is a dependable choice. It folds sharply, holds glue well, and hides minor mistakes better than glossy stock. It also works with almost any ribbon color and gift tag. If you want the bag to feel more polished, add a strip of contrasting paper across the top or a simple label rather than covering the whole surface in fragile decoration.
Decorative paper is best for light items. It looks polished, but the trade-off is durability. Thin sheets can crease badly at the corners or rip at the hole punch. If you use decorative paper, reinforce the inside with a second layer at the top or save it for a small, light gift.
A tag finishes the bag quickly. Punch a hole in the tag, tie it to one handle with ribbon, and write the recipient’s name plainly. A tag also helps if you are making several bags for one event and need to tell them apart.
This method is not right for very heavy, sharp, or oddly shaped gifts. Those items stress the seams and can punch through the bottom. For a box-shaped present, a homemade bag works well. For anything irregular, another type of wrap usually makes more sense.
Fix the common mistakes before they ruin the bag
You fix the common mistakes by correcting the folds, the scale, and the handle placement before you decorate. Those errors cost the most time because they usually show up only after the bag is already half-built.
A bag that is too narrow may look fine flat but will not close once the gift is inside. The fix is simple: start over with a wider sheet, or cut a fresh one and add more overlap at the seam. Trying to force the sides together usually wrinkles the front and weakens the top.
A bottom that is not square makes the bag tilt. That can be corrected by reopening the base, flattening the folds, and re-creasing the corners. A square base should sit evenly on the table instead of rocking.
Handle holes set too close to the edge are another common problem. The cost is tearing when the bag is lifted. If the holes are already in the wrong spot, move the handles lower only if you have enough height left for the fold. Otherwise, make a new bag and place the holes more carefully.
A bag that looks neat but feels flimsy is usually under-reinforced. Add a top fold, use a double hole layer, and choose ribbon rather than thin string if the contents have any weight. A few minutes of reinforcement is easier than repairing a split seam after the gift is packed.
For a step-by-step visual reference on present wrapping basics, the hub on how to wrap a present with wrapping paper can sit alongside this method without repeating it. If you want a related shortcut for reusable packaging, see how to make a paper envelope and the basics of wrapping a present.
Can you make a gift bag from wrapping paper?
Yes, you can make a gift bag from wrapping paper if the sheet is large enough and not too thin. The bag will look more decorative, but it will also be less durable than one made from craft paper. Use a double top fold, a hole punch, and light contents so the seams do not tear.
How do you make handles for a paper bag?
You make handles for a paper bag by punching paired holes near the top and threading ribbon, twine, or folded paper strips through them. Ribbon is often the easiest option because it ties securely and wears well, but if the bag is carrying anything heavier, consult a craft or packaging professional about the handle material and hole placement. Keep the holes about 1 inch from the edge so the top layer does not rip.
What paper is best for a homemade gift bag?
Craft paper is a strong all-around choice for a homemade gift bag because it folds cleanly and holds weight better than thin decorative sheets. Cardstock can also work for small bags, but it gets stiff fast. Use lighter decorative paper only for small, light gifts and reinforce the top edge.
Drafted with AI; not yet reviewed by a person.