Gift Wrapping Methods and How-to — The Complete Guide
Last updated: October 21, 2026
Quick Answer: there are 3 main gift wrapping methods, and the best one depends on the shape, fragility, and delivery of the gift. For flat boxes, the standard wrap usually works best. For bottles, odd shapes, or fragile items, a bag, fabric, or a box-with-insert approach can waste less paper and hide less damage.
Key Takeaways
- The best method depends on the object and how it will be presented.
- A box looks neat when the paper covers the sides without burying the edges.
- Gift bags are faster; wrapping paper gives sharper presentation and better shape control.
- Fabric wrapping is useful when reuse, structure, or a more elevated look matters.
Gift wrapping methods and how-to — The Complete Guide is about matching the wrap to the object, then finishing the folds cleanly. The topic matters because a box, a bottle, and a plush toy do not need the same treatment. A standard box wrap handles most rectangular gifts. Bags and fabric work better for round, awkward, or delicate items.
I write about packaging, presentation, and consumer how-to topics with an eye for what actually changes the result: fold geometry, material choice, tape placement, and how the gift will survive transport. That means the practical details matter. A 1-inch overlap, a 20-to-30-inch paper width, and a 27-to-35-inch cloth square can each change the result.
The right wrapping method depends on the gift, not the occasion
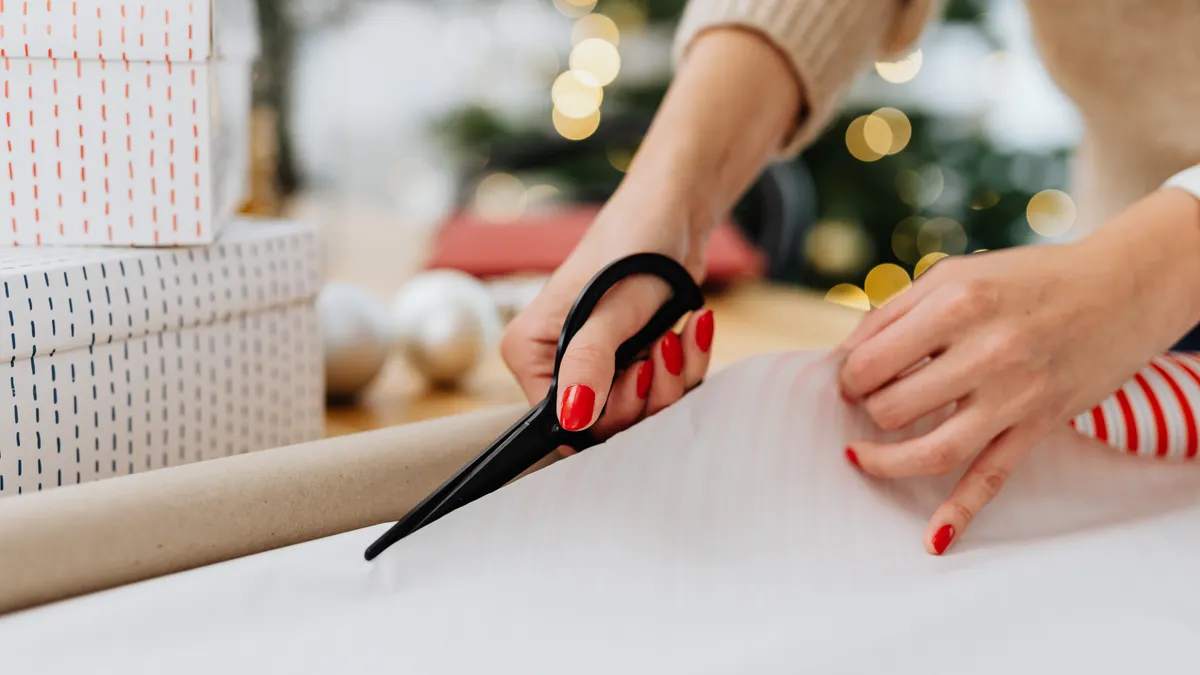
The right wrapping method depends on the gift, not the occasion. A hard rectangle wants paper and crisp corners; a round candle wants a bag or fabric; a toy with handles or protrusions often needs tissue, a box, or a gift sack. That sounds obvious, but most wrapping problems start when someone forces every gift into the same technique.
A standard box wrap is the cleanest choice for books, board games, shoe boxes, and most electronics cartons. It gives the sharpest corners and the most polished look, and it uses ordinary wrapping paper, usually in the 20 to 30 inch width range sold at mass retailers and craft stores. The downside is waste: awkwardly sized boxes can chew through paper fast, especially if you are trying to hide a branded box.
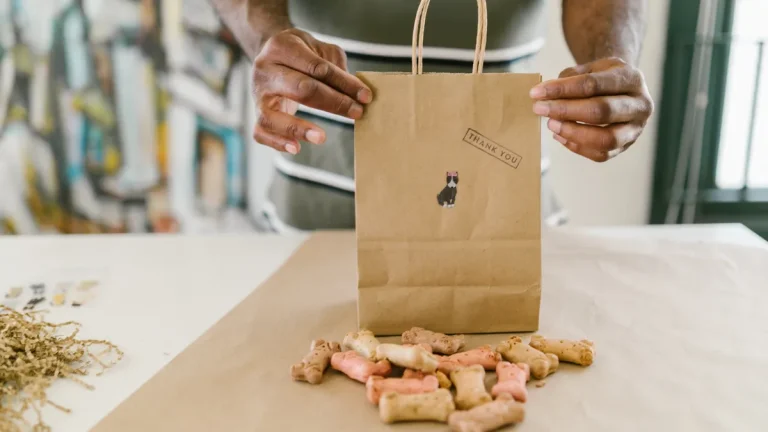
Gift bags win when speed matters more than precision. They are the right choice for mugs, candles, wine bottles, plush toys, and gifts with odd profiles. You can finish one in under a minute with tissue paper, but the trade-off is obvious: a bag looks less tailored, and it gives away the silhouette of small or firm objects unless you pad the bottom well.
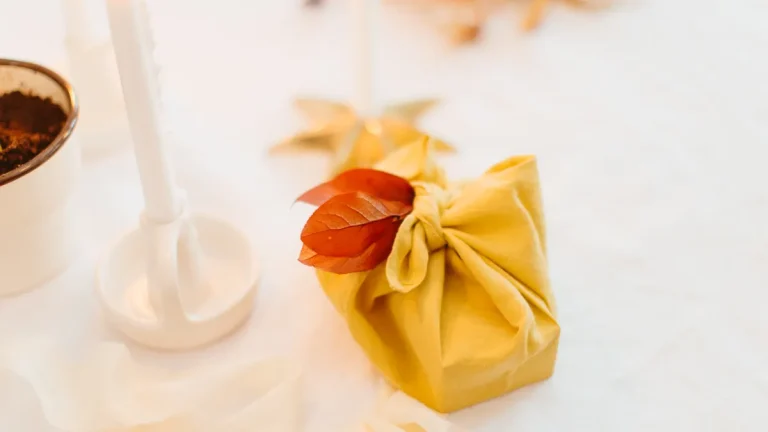
Fabric wrapping, often called furoshiki when done in the Japanese style, is a strong option for reusable presentation. It is also forgiving for rounded or irregular shapes, because the cloth can stretch and tie around the object instead of fighting it. The drawback is that it takes a little more hand coordination, and very slippery fabric can loosen if the knot is weak.
If the gift is fragile, keep the presentation method separate from the protection method. Wrap the item in tissue, bubble wrap, or a snug box first, then decorate the outside. A pretty wrap is not a substitute for shock protection. Consumer Reports has long recommended packaging fragile items so they do not shift in transit, and USPS guidance also emphasizes snug internal packing for protected movement.
How do you wrap a box neatly?
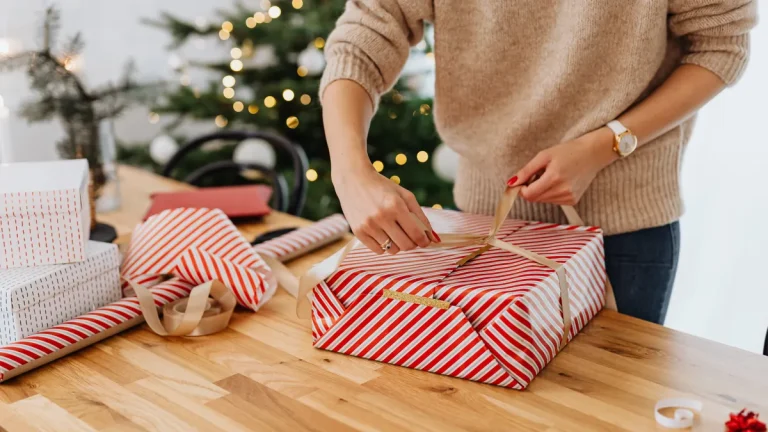
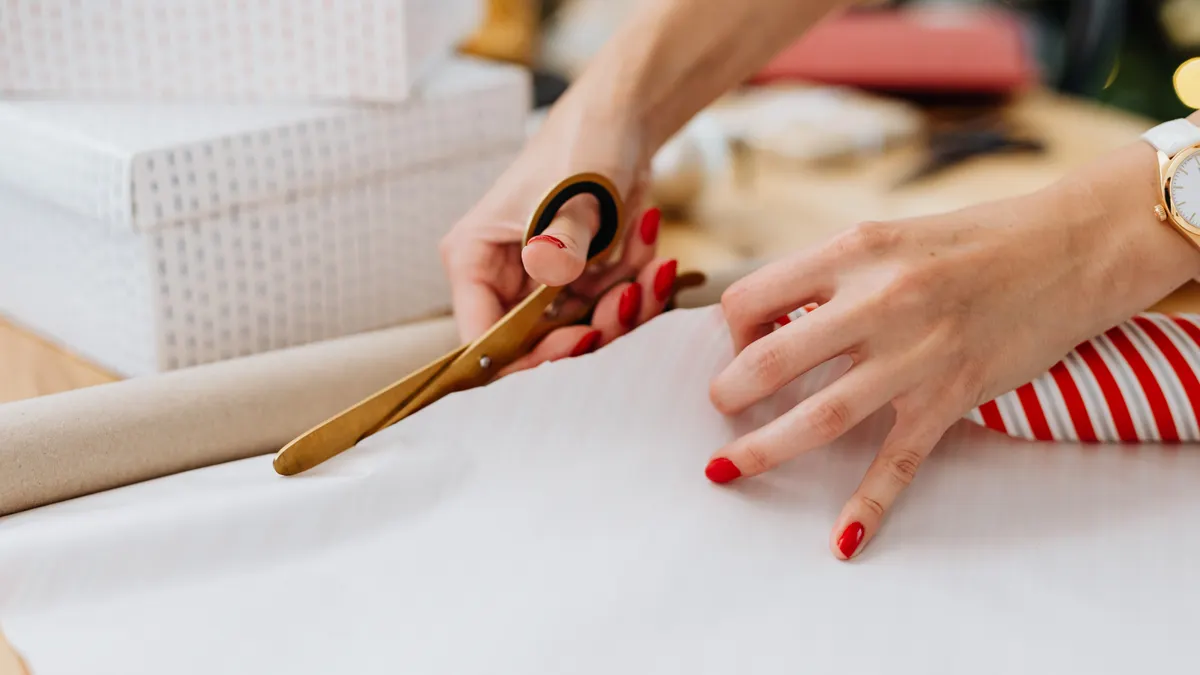
A box wraps neatly when the paper is cut to cover the sides without drowning the edges. Start by measuring the box against the paper before you cut. The paper should go around the box with just enough overlap to meet under the bottom or along one seam, and the ends should extend far enough to cover each face without heavy bunching.
Lay the box upside down on the paper so the seam ends up on the underside. Pull one side of the paper tight across the box, then bring the other side over it with about 1 to 2 inches of overlap. Tape that seam down with narrow strips rather than one giant piece. Smaller tape pieces disappear more easily and give you more control.
The end folds are where most wrapping jobs fail. Push the side flaps inward to create two clean triangles, then fold the top flap down. Crease the edges with a fingernail or the side of a ruler for a sharper line. Repeat on the other end. If the paper wrinkles, do not rip it off and start over unless the mistake is huge; small wrinkles are usually less visible than patched paper.
The box method is ideal for square-edged items, but it is not the right call for every box. Very tall narrow boxes, such as a bottle gift box, tend to tilt and create uneven paper tension. In that case, a bag or a double-box approach is safer and often neater. Use the standard method when the box is reasonably compact and the paper pattern can run straight.
For a polished look, keep the tape on the underside and use ribbon to hide the seam if needed. A single ribbon band can cover a small paper mismatch without making the wrap look crowded. A straight seam and a centered ribbon usually look better than extra decoration.
Gift bags vs wrapping paper: which is actually better?
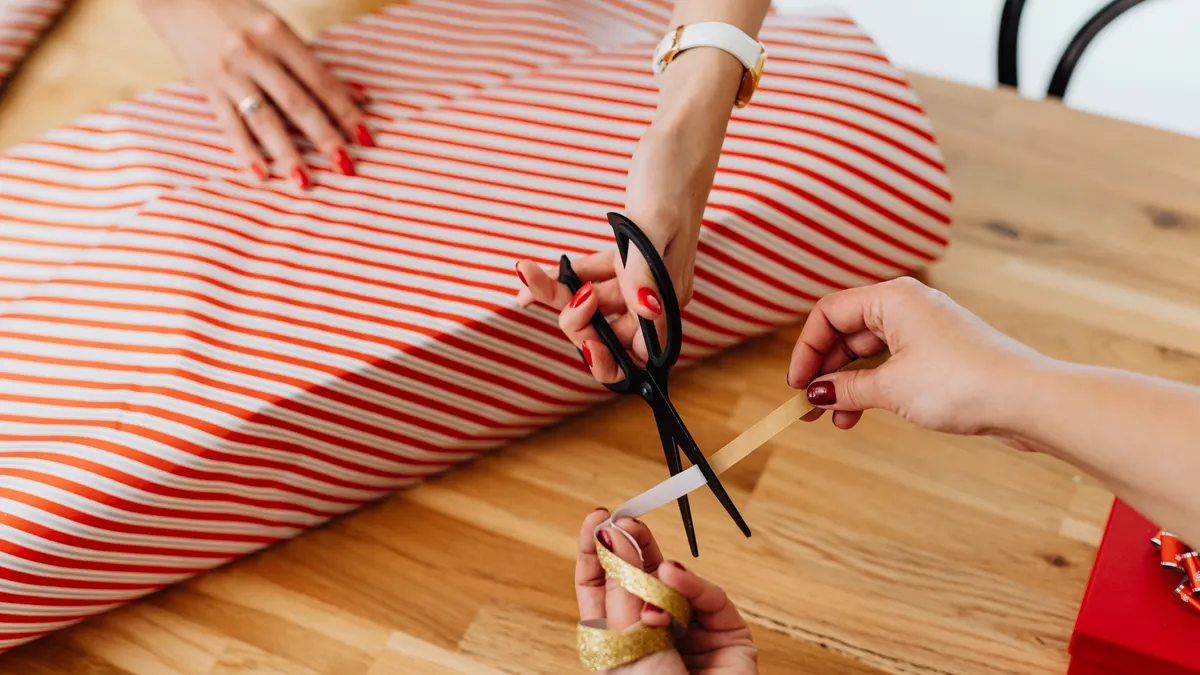
Gift bags are better for speed, while wrapping paper is better for presentation and shape control. If the gift is small, awkward, or fragile, a bag is the practical choice. If the gift is rectangular and you want a sharper finish, paper wins.
A gift bag usually needs three things: a bag sized to the object, tissue paper, and enough filler to keep the gift upright. Large gift bags often have gusseted sides and a reinforced bottom, which helps with bottles, candles, and boxed gifts. The tissue creates height and hides the top of the gift, so the package looks fuller and more intentional. The weak point is visibility. If the tissue is sparse or the item sits too low, the shape gives itself away.
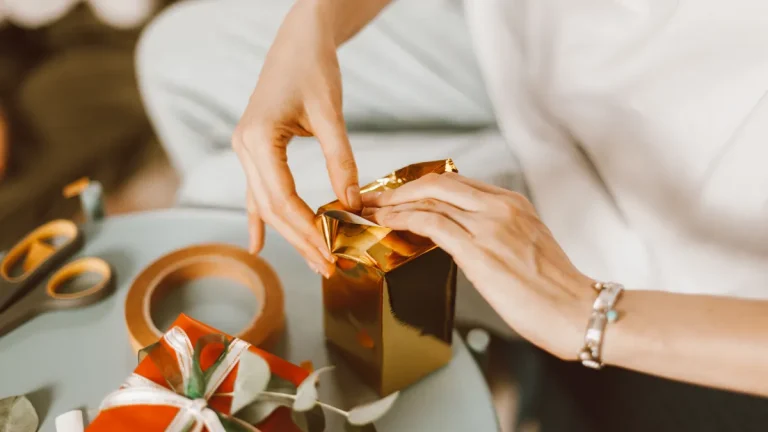
Wrapping paper takes more time, but it can make a simple box look deliberate. It is also more customizable. You can choose matte paper, metallic paper, kraft paper, or printed paper; add a bow; or use contrasting ribbon. The trade-off is waste and precision. Paper tears, corners split, and oversized sheets create loose, crumpled seams. Anyone wrapping in a hurry will feel that difference.
A bag is wrong for gifts that must stay secret in transit or arrive looking formal. A paper wrap is wrong for very delicate items that need cushioning and for objects with handles, stems, or uneven weight. A bottle in a paper wrap is especially awkward unless you first box it or use a sleeve designed for the shape.
If the question is “Which should I keep on hand?” the honest answer is both: a stack of medium bags for odd shapes and a roll of neutral paper for flat gifts covers most situations. For many homes, that means 2 basic supplies cover most wrapping jobs.
Furoshiki and fabric wrapping: when cloth beats paper
Fabric wrapping can beat paper when you want reuse, structure, or a more elevated look. It is the strongest method for gifts with rounded corners, because cloth can be tightened and knotted without tearing. It is also the most sustainable option in the simple sense that the wrapper itself can be used again.
The basic furoshiki method starts with a square cloth. Place the gift near the center, bring opposite corners together, and tie them over the top. For a square box, the cloth can be gathered into neat handles. For a bottle or cylinder, the cloth can be rolled around the item and knotted at the top. The cloth size matters more than people expect: too small, and the knot looks strained; too large, and the result looks bulky. A square around 27 to 35 inches on a side works for many medium gifts, though the exact size depends on the object.
The best fabrics are usually moderately structured cotton, linen, or a silk-like cloth with enough friction to hold a knot. Slippery synthetics can slide open, especially if the gift is heavy. Lightweight scarves can work, but the knot may dominate the look. That is the trade-off: the prettier the textile, the less forgiving it may be as a wrapper.
Fabric wrapping is not always the fastest method, and it is not ideal for very small gifts unless you want the cloth to become part of the gift itself. It also requires the recipient to know how to open and refold it without damage. If the fabric has sentimental value, that is a feature. If not, it can be a confusing extra step.
Use this method when presentation matters and the object is not naturally suited to paper. It is especially strong for weddings, holidays, host gifts, and reusable packaging on items that travel by hand rather than by mail. Japan Guide and the Japan National Tourism Organization both describe furoshiki as a practical reusable wrapping tradition.
The honest side-by-side
Paper wins on crispness. Bags win on speed. Fabric wins on reuse and awkward shapes. The right choice changes with the object, the delivery method, and how much effort you want the wrapper itself to carry.
| Criteria | Wrapping paper | Gift bag | Winner for [condition] |
|---|---|---|---|
| Flat rectangular gifts | Sharp corners and tight seams | Looks loose unless heavily stuffed | Wrapping paper for books, games, and boxed sets |
| Odd shapes | Can tear or wrinkle around handles and curves | Hides irregular outlines easily | Gift bag for mugs, toys, and candles |
| Speed | Slower, especially with corners | Usually fastest with tissue | Gift bag when time is tight |
| Neat appearance | Best for a formal, finished look | Depends on bag quality and filler | Wrapping paper for a polished presentation |
| Reuse | Usually single-use | Bag can be reused several times | Gift bag for repeat use |
| Waste from bad sizing | High if the cut is too generous | Lower, because the container is pre-sized | Gift bag for uncertain dimensions |
| Fragile items | Needs a separate protective layer | Allows padding and tissue more easily | Gift bag for soft or boxed fragile items |
| Customization | High; paper, ribbon, labels, and tape are flexible | Moderate; limited by bag design | Wrapping paper for tailored looks |
| Transport stability | Good for stackable boxes | Weaker for tall or top-heavy items | Wrapping paper for gifts that will be stacked or mailed |
The practical conclusion is simple: paper is the better default for boxes; bags are the better default for everything else. That does not make either one universally superior. It means the container should solve the object’s geometry before you worry about decoration.
If the recipient is likely to carry the gift a long distance, paper on a box usually holds up better. If the gift is going to sit on a table and be opened casually, a bag saves time and still looks presentable.
What wrapping method should I use for awkward or fragile gifts?
Use a box, tissue, and external decoration for fragile gifts; use fabric or a deep bag for awkward gifts with curves, handles, or weight imbalance. That is the cleanest rule because it separates protection from presentation.
For glassware, candles, or ceramics, the safe method is to cushion first and decorate second. Wrap the item in tissue or another soft layer, then place it in a snug box with void fill if needed. A shipping-style inner box is not glamorous, but it prevents the item from rattling. Once the object is secure, wrap the outside box with paper or place it in a bag. This is much better than trying to make the outer wrap do structural work it cannot do.
For bottles, a bottle bag, a tall gift bag, or a fabric wrap usually beats paper. Paper around a cylinder tends to bunch at the ends and look careless unless the bottle is boxed first. Wine sleeves and bottle carriers are practical because they fit the shape instead of fighting it.
For toys, electronics accessories, and gifts with unusual add-ons, the decision comes down to whether the protrusions can be removed. If they can, remove them and wrap the main unit separately. If they cannot, a roomy gift bag with tissue is often the least frustrating answer. For very large items, such as sports equipment or bulky home goods, the right move may be a decorative bag, a box sleeve, or no wrap at all with a gift tag and ribbon.
The wrong move is forcing a paper wrap onto a shape that will puncture it. Once a corner or handle breaks through, the result looks rushed no matter how pretty the paper was. USPS packaging guidance and retailer packing advice both stress that the package has to fit the item, not the other way around.
The wrapping mistakes that make a gift look cheap
The biggest mistakes are bad sizing, visible tape, weak corners, and ignoring the gift’s shape. Each one has a specific fix, and none requires fancy materials.
Cutting the paper too small is the most common failure. If there is not enough overlap, the seam pops open or the ends barely meet, which makes the whole job look unfinished. Cutting too large is the second most common failure. Oversized paper creates thick folds that refuse to lie flat. The fix is to measure before cutting and leave a modest margin, not a generous one.
Visible tape is another giveaway. Clear tape can still catch the light and show through thin paper. On metallic paper, it may show as dull patches. Use narrow strips and place them on the back or bottom side whenever possible. If the tape must be visible, place it under a ribbon or along a seam that is already hidden by the fold.
Corners matter more than surface decoration. A box with crisp corners looks professional even if the paper is plain kraft paper. A box with crushed corners looks sloppy even if the ribbon is expensive. Make the folds tight and crease them sharply.
Pattern direction is an easy detail to miss. If the paper has text, animals, stripes, or a clear motif, think about orientation before cutting. A sideways print makes a gift look accidental. This is especially noticeable on long boxes and tall bags.
The other frequent mistake is choosing decoration before method. A fancy wrap cannot fix the wrong format. A flat box wants paper; a bottle wants a bag or box; a soft item may need tissue and a sleeve. Method first, decoration second.
When should you skip wrapping entirely?
Skip wrapping when the object is too large, too irregular, or too urgent to wrap well. That is not laziness; it is choosing a better presentation for the circumstance.
Large gifts often look worse when force-wrapped. A bicycle, a floor lamp, or a large appliance wrapped in paper can turn into a torn, cumbersome mess. For those gifts, a bow, a tag, a clean dust cover, or a decorative bag is usually more effective. A gift card tucked into a small wrapped box can also create a sense of occasion without pretending the big item is something it is not.
Skip wrap if the recipient needs to identify the item quickly, such as when the gift is time-sensitive or practical. A direct handoff with tissue, ribbon, and a note can be better than a full wrap if the point is usefulness, not surprise.
Skip wrap if the object will be opened in a place where debris is a problem. Paper scraps and ribbon confetti can be annoying in a car, on a plane, or in a small room. In those cases, a reusable gift bag or fabric wrap is cleaner.
Skip wrap if the package will be mailed and must do double duty as shipping protection. Then the correct method is shipping packaging first, presentation second. Decorative wrapping on the outside of a fragile mailer often gets shredded in transit.
The hard truth is that wrapping is not mandatory. A thoughtful presentation can be plain, especially when the object itself is the real gift. The point is to show care, not to create extra work that ends in torn paper and frustration.
The verdict: which gift wrapping method should you choose?
Choose wrapping paper if the gift is a box, the goal is a polished look, and you can spend a few extra minutes on corners and seams. Choose a gift bag if the item is odd-shaped, fragile, or needed fast. Choose fabric wrapping if you want reuse, a more tactile presentation, or a shape that paper resists. Choose none of them if the object is too large, too awkward, or better presented with a tag, ribbon, or protective box instead.
Neither if your only goal is to hide a gift in the fastest possible way and the item is already in a sturdy retail box with no need for presentation. In that case, a simple ribbon and card may be enough.
How do you make the wrap look polished without buying special supplies?
You can make a basic wrap look polished with sharp folds, hidden tape, and one strong accent instead of a pile of extras. That matters because the finish is usually about discipline, not expensive material.
Start with clean edges. Cut with scissors that actually slice rather than crush. Crease every fold as if it matters, because it does. Use one ribbon color that complements the paper instead of several competing elements. If the paper is patterned, keep the ribbon simple. If the paper is plain, one textured ribbon or a single tag can carry the look.
Neutral kraft paper is especially forgiving because it makes seams and ribbons look intentional rather than busy. Metallic paper can look elegant, but it shows crushed folds and fingerprints more easily. Glossy paper photographs well, but it can be slippery and more likely to split at the corners. Matte paper hides small flaws better.
The smartest upgrade is often not decorative at all. A box insert or a neatly cut liner inside a gift bag makes the item sit correctly. Tissue paper, a narrow ribbon, or a neat handwritten tag changes the perceived quality more than piling on bows.
A polished wrap is really a sequence of choices: the right container, the right amount of material, and enough restraint to stop before the package looks crowded. If one detail has to fail, let it be the decoration, not the structure. The recipient notices structure first.
Drafted with AI; not yet reviewed by a person.