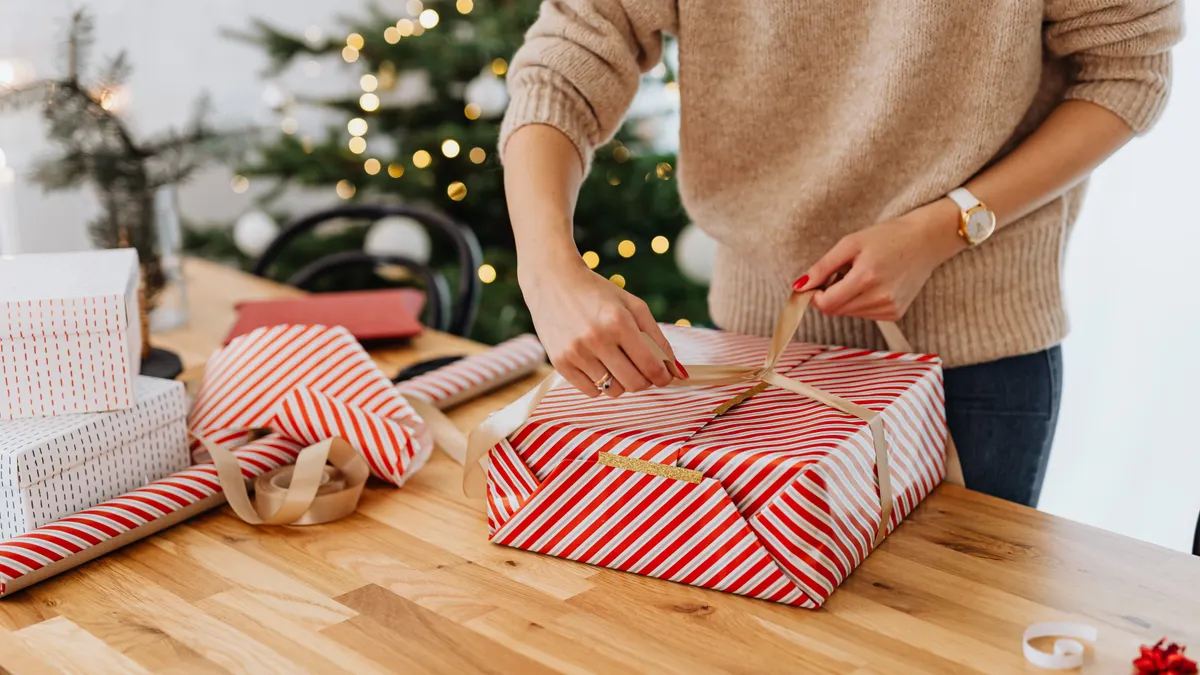
How to Wrap a Present Without Tape
Last updated: October 27, 2026
Quick Answer: how to wrap a present without tape is easiest with a box, a sheet of wrapping paper, and one finishing choice. On a simple rectangular box, the method usually uses 1 ribbon, 1 sticker, or 0 adhesive. Tape-free gift wrapping is done with folds, tucks, stickers, and ribbon, and it works best when the package is box-shaped and the paper is cut with enough slack for clean corners. If the goal is a neat finish that can be opened and reused, this is the method to use.
Key takeaways
- Start with a flat box, a sheet of wrapping paper, and a ribbon or sticker before you make the first fold.
- The cleanest results come from tight creases and a final tuck, not from forcing the paper to hold itself everywhere.
- Double-sided tape can still help if you want a near-invisible seam, but the point of tape-free wrapping is that the finish should stand on folds alone.
- Stickers are useful when the last flap needs a small anchor point, especially on lightweight paper.
- This method is not ideal for awkward shapes, bulky soft gifts, or anything that needs a bag or fabric wrap instead.
- A reusable finish is easiest when you avoid tearing the paper and keep the ribbon tied, not glued.
What you need before you start
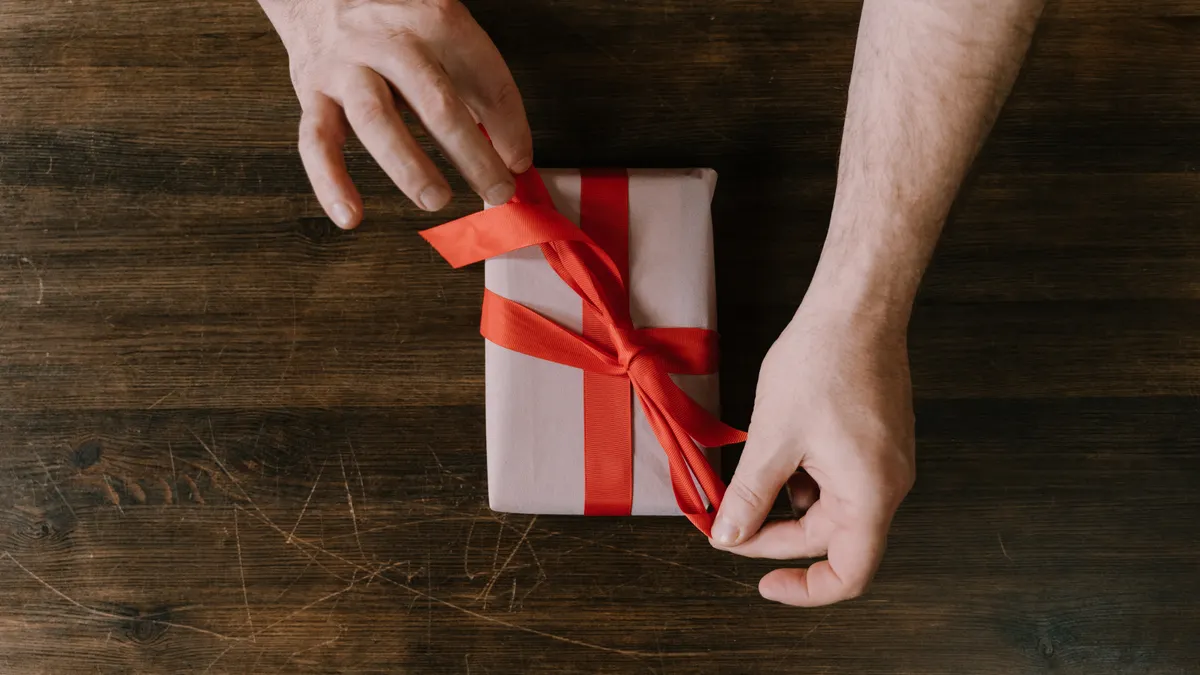
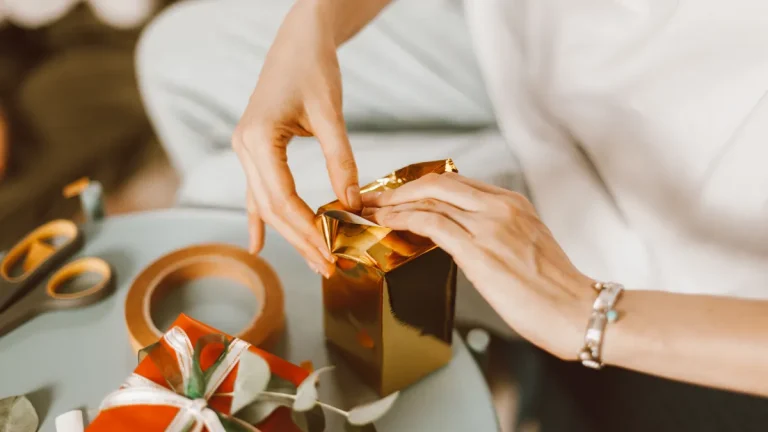
You need wrapping paper, a box or other rigid gift, scissors, a ruler or straight edge, and one finishing choice: ribbon, a sticker, or both. A bone folder is helpful if you have one, but a clean thumbnail will do the same job on a 30 cm crease. The gift itself should be packed so it does not shift inside the box.
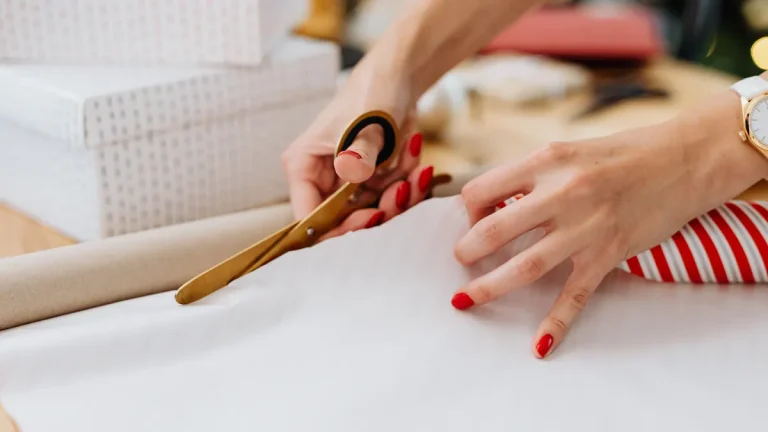
Choose paper with a little firmness. Very thin sheets crumple at the folds and make the tucked edges look messy. Extra-thick luxury stock can resist the final tuck, so standard-weight gift wrap is easier. If the gift is small, cut a sheet with about 5 to 8 cm of extra overlap on each long side so the seam has room to fold cleanly.
A flat surface matters more than fancy tools. A dining table, desk, or hard floor gives the edges something firm to press against. Keep the ribbon cut before you begin; a 1 to 1.5 meter length is usually enough for one box, depending on how wide you want the bow tails to fall. If you plan to use stickers, choose small ones that match the paper and will not wrinkle the flap.
If you are looking for the standard fold-by-fold method with paper only, the hub page on how to wrap a present with wrapping paper covers that route. This page stays with tape-free gift wrapping: no adhesive seam, no gift bag, just folds and tucks.
How do you wrap a present without tape?
You wrap a present without tape by making the paper meet at the underside, folding the loose edge inward, and locking the end with a tuck, ribbon, or sticker. The trick is to treat the paper like a jacket collar: every visible edge should be folded under before the final hold goes on, and if the paper feels slippery or the gift is awkward, consult a professional gift wrapper or a local craft store for a demo before you try a formal presentation. That keeps the finish neat and stops fraying corners from showing.
-
Center the box on the sheet. Place the gift face down in the middle of the paper and check that you have enough left on both long sides to reach around the box with 5 to 8 cm of overlap. If it works, the paper can meet without straining or tearing at the seam.
-
Bring the long sides up and meet them over the center. Pull both long edges upward, then overlap them by about 2 to 4 cm and crease the top edge sharply with your fingers. The paper should form a straight seam line running along the center of the box.
-
Fold the upper edge of the seam inward by 1 cm. Tuck the top flap under itself so the raw edge disappears. When it is right, the seam looks finished instead of jagged, and the folded edge lies flat rather than springing open.
-
Lock the seam with a ribbon wrap or sticker. Slide a ribbon around the box and tie it over the seam, or place a small sticker near the folded edge to pin it in place. A ribbon can give a reusable finish; a sticker is the quickest fix when the paper is light.
-
Form the ends into triangles. At each open end, push the side panels inward so the top and bottom edges collapse into two diagonal flaps. The end should look like an envelope before you make the final fold.
-
Fold the top triangle down, then tuck the bottom triangle underneath it. Press the upper flap down along the box edge, then bring the lower flap up and slide its point under the folded top edge. When it works, the end closes without a single piece of tape.
-
Secure the final point with a sticker or ribbon if needed. If the tucked point feels loose, consult a professional if you are unsure, then place a sticker at the edge or wrap a narrow ribbon around the end. The box should stay shut when you lift it gently from the table.
That sequence works because the folds do the holding, not the adhesive. It is especially good for shallow boxes, books, and scented candle cartons. It is less forgiving on very thick packages, where the paper has too much stress at the corners.
The cleanest no-tape corner fold for box-shaped gifts
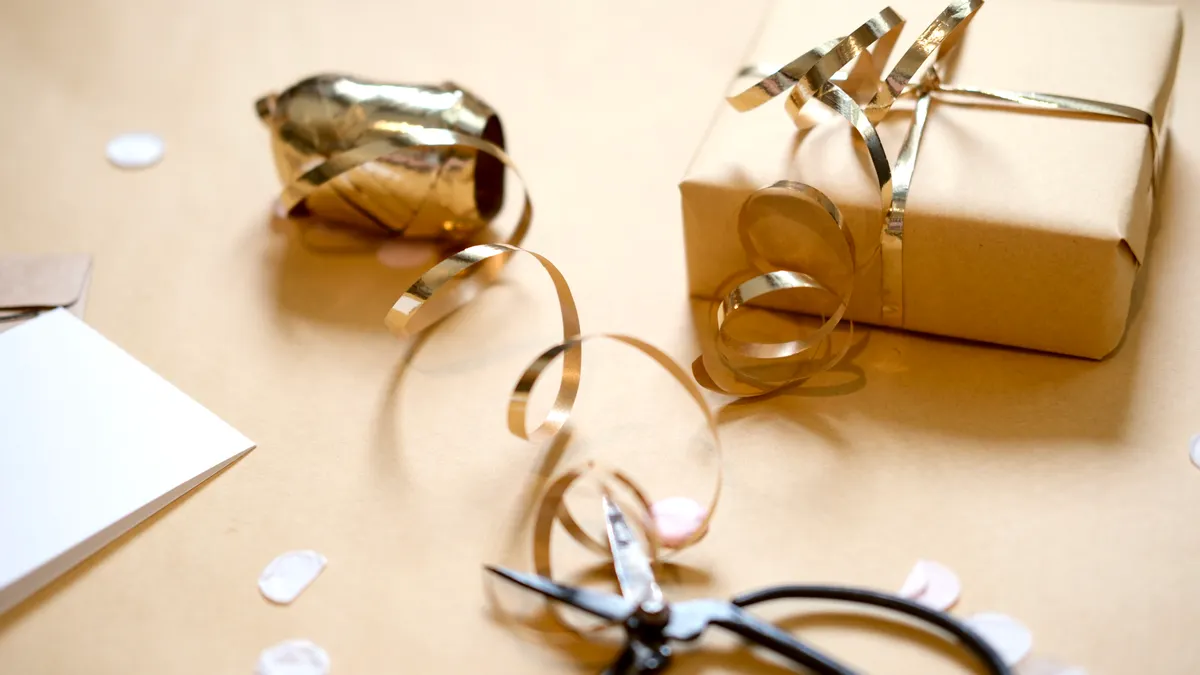
The cleanest no-tape corner fold is the envelope-style tuck, and it usually looks best on rectangles with sharp edges. This is the technique to use when you want each corner to land in the same place and avoid the rumpled look that comes from stuffing paper under itself at random.
Start by making the side panels lie flat against the box end. Then pinch the top layer at each side so it forms two diagonal lines meeting at the center point. Those diagonal lines should be crisp enough to hold shape for several minutes after creasing. If they keep spreading apart, the paper was cut too large or the box is too rounded.
From there, fold the top flap down first. The fold line should sit exactly at the edge of the box, not 1 cm above it, or the end will look bulky. Then raise the bottom flap and tuck its point under the top fold. If the point is too long, trim a narrow triangle from the end of the paper before refolding; a 5 mm trim is often enough to remove the lump without exposing the contents.
This fold can be the best place for a sticker when you want a discreet hold. A small round sticker placed on the underside of the flap holds the tuck while staying almost invisible from the front. Decorative stickers work too, but they are not as reliable if the paper has a slick finish. If you prefer the ribbon finish, run the ribbon across the center of the end and tie it into a snug knot. A bow hides the tuck point well and makes the final seam reusable.
The main limitation is shape. A book, board game, or box of tea behaves well. A round tin, shoe box with a domed lid, or bulky toy package tends to fight the fold and needs more patience than most people want to spend.
Using stickers instead of tape for a neater finish
Stickers work better than tape when you want the seam to stay visible only as a design choice, not as a shiny strip across the wrap. They are also useful when the paper is lightweight enough that a small anchor point can hold the fold without wrinkling the surface.
Choose stickers with a low-profile edge. Dot stickers, star stickers, or small gift labels are easier to hide than large labels with thick backing. Place them on the underside of the fold whenever possible. That way, the front of the gift still reads as a clean, folded surface. If you need to seal a side flap, align the sticker so half lands on the folded edge and half on the flat paper; that gives it more grip.
This is also where double-sided tape can still enter the picture, if you decide the goal is “no visible tape” rather than “no tape at all.” A single short strip hidden under a folded edge can keep a seam from slipping while preserving the tape-free look from the outside. That said, if the point is reusable wrapping, the sticker-and-tuck method is easier to undo and reuse than hidden adhesive.
There is a trade-off. Stickers can leave residue on glossy paper, and some peel up when the gift gets warm in a car or sits near a heater. The smoother the finish, the more likely it is to show a lifted edge. Use them on matte paper when possible, and press the sticker down for a few seconds with firm pressure.
A useful rule: if the box already closes by friction and the folds are crisp, a sticker is a finishing touch. If the package still needs force to stay shut, the fit is off and the sticker is only covering the problem.
Reusable wrapping that opens cleanly later
Reusable wrapping is easiest when every hold point can be removed without tearing the sheet. That means ribbon, tuck folds, and stickers that lift cleanly matter more than perfect symmetry. A gift wrapped this way can be opened, flattened, and stored for another occasion if the paper is not creased too hard.
Ribbon can be the most reusable anchor for reuse when you want the wrap to come apart cleanly. A simple knot across the center usually holds the seams without puncturing the paper at all. If you want a bow, make it on top of the box where it can be untied later. Satin ribbon looks polished, but narrow grosgrain is easier to grip and keeps its shape better. A 6 to 12 mm width is usually comfortable for most small and medium boxes.
If you want the whole wrap to open neatly, avoid folding the same seam twice. Repeated sharp creases weaken the paper and leave white stress marks along colored stock. Make one decisive fold, then smooth it once. That keeps the sheet more reusable after the recipient opens it.
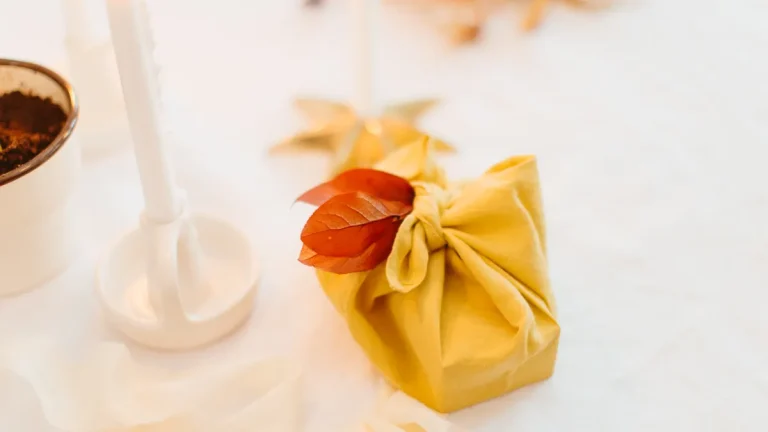
This method is not for every gift. If the present has a rough or awkward surface, or if it is a soft item that changes shape when lifted, tape-free wrapping can look fussy and collapse early. In those cases, a gift bag or fabric wrap is the better choice, and this page is not the place for that method.
For people who want a polished result, reusable tape-free wrapping is the most elegant version of present wrapping by hand. It is slower than slapping on adhesive, but the payoff is a cleaner opening and less waste.
Common mistakes that make tape-free wrapping look messy
The biggest mistake is cutting the sheet too small, because short edges force the folds to stretch and make the corners gape. If the box edges are visible through the seam, the paper was undersized. The fix is simple: cut a wider sheet and leave 5 to 8 cm of overlap for the body of the box, plus enough extra on each end for the tuck.
A second mistake is folding before the crease is set. A weak fold looks fine for about 10 seconds, then slides open as soon as you move the gift. Press the edge hard along the full length before going to the next step. If the paper resists, use the side of a scissors handle or a ruler edge to sharpen the line.
A third mistake is using a ribbon that is too narrow for the size of the box. Very thin curling ribbon can look fragile on a large package, and it may not hold the seam in place. For medium and larger gifts, a broader ribbon gives the wrap more structure and makes the final knot feel intentional rather than decorative only.
A fourth mistake is choosing highly glossy paper for your first attempt. Glossy stock can be beautiful, but it slips when folded and shows every crease. Matte or lightly coated wrapping paper is much easier to control, especially if you want the final result to stay reusable.
The last common problem is trying to force tape-free wrapping onto the wrong shape. Cylinders, soft toys, and odd bundles do not reward the same fold logic as a box. If the object cannot sit flat, the fold-and-tuck method becomes a fight instead of a shortcut.
When tape-free wrapping is the better choice
Tape-free wrapping is the better choice when the gift needs to look clean, open easily, or stay reusable after the occasion. It is also the right move if you want a presentation that feels more handmade and less disposable. The method suits birthdays, holidays, teacher gifts, and any present where the wrapping is part of the experience.
It is not the better choice when speed matters more than finish. If you are wrapping 15 gifts in one evening, adhesive may be the practical choice. It is also not ideal for damp hands, crushed paper, or a table without enough room to spread out the sheet. Those conditions make folds harder to align and turn a neat project into a wrinkled one.
The strongest reason to use this method is control. You decide where the seam sits, where the corners land, and whether the final hold comes from a sticker or a ribbon. That makes it a good skill to keep around even if you only use it for the gifts you care about most.
For a reader who wants the shortest answer: use a box, fold the long sides inward, tuck the ends like an envelope, and finish with ribbon or a sticker. That is how to wrap a present without tape in plain terms, and it is the method that gives the cleanest result with the least fuss.
What can I use instead of tape?
You can use stickers, ribbon, or the folds themselves instead of tape. Stickers are the quickest substitute, while ribbon gives the most reusable finish. On a box with sharp edges, a good tuck can hold the wrap on its own for a neat, closed look.
Can you wrap a gift neatly without tape?
Yes, you can wrap a gift neatly without tape if the gift is box-shaped and the paper is cut with enough overlap. The result depends on crisp folds and a final tuck, not on force. Matte wrapping paper and a ribbon finish usually look the cleanest.
Is tape-free wrapping easier?
Tape-free wrapping is easier once the folds are learned, but it is slower the first time. The method asks for more precision at the corners, and it works best on simple shapes. For a flat box, it becomes straightforward after one or two attempts; for awkward gifts, it can be more frustrating than taped wrapping.
Drafted with AI; not yet reviewed by a person.