How to Wrap a Present with Wrapping Paper
Last updated: October 27, 2026
Quick answer: You can wrap a standard box-shaped gift neatly in 5 steps: measure, cut, fold, tape, and finish. Gift wrapping is easiest when the box is matched to the roll, the paper is cut with a little margin, and each fold is made sharp before tape goes on. If you are learning how to wrap a present with wrapping paper, this guide shows the cleanest way to do it and avoid the lumpy corners that make the job look rushed.
What you need before you start
You need wrapping paper, scissors, tape, and a box-shaped gift before you begin. A flat surface at least the size of the box helps a lot, because most wrapping problems start when the gift slides around during the first fold.
Set out the gift box, the roll of wrapping paper, scissors, and tape before you cut anything. If the box is small, a regular desk or kitchen table is enough. If it is large, clear a floor space so the paper can lie flat without curling over the edge.
For tape, a simple transparent roll is fine. Keep the box closed and remove any store tags first, because once the corners are folded, reopening the package without tearing the paper is awkward.
The cleanest results come from paper with enough width to go around the box once plus a small overlap. If the roll is narrow, you can still do it, but you may need an extra seam or a second strip on one end. That is acceptable for a utility gift, though it will not look as tidy as a single wrap.
If the gift has a top and bottom, place the nicest side face down at first. That keeps the best-looking face for the top when you finish. It also makes the final seam land on the underside, where it is less visible.
How do you wrap a present neatly?
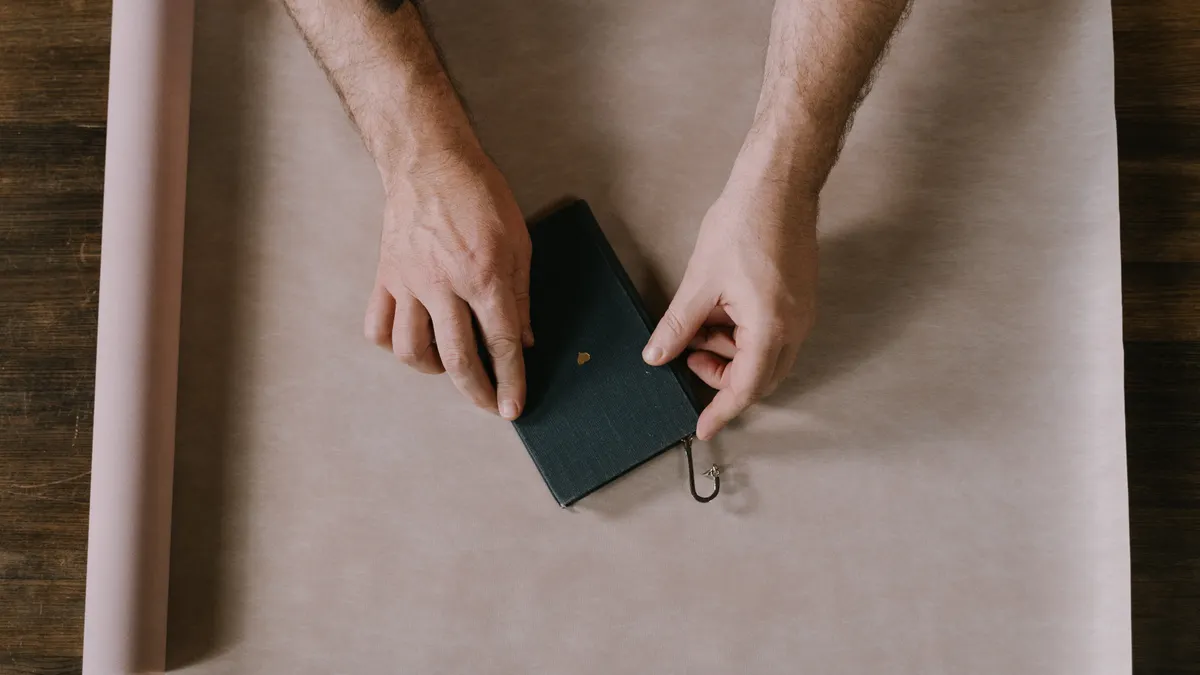
You wrap a present neatly by centering the box on the paper, folding the long sides tight, and finishing the ends with sharp triangles. The whole job depends on two measurements: enough paper to cover the box’s height and enough length to overlap by about 2 to 3 inches.
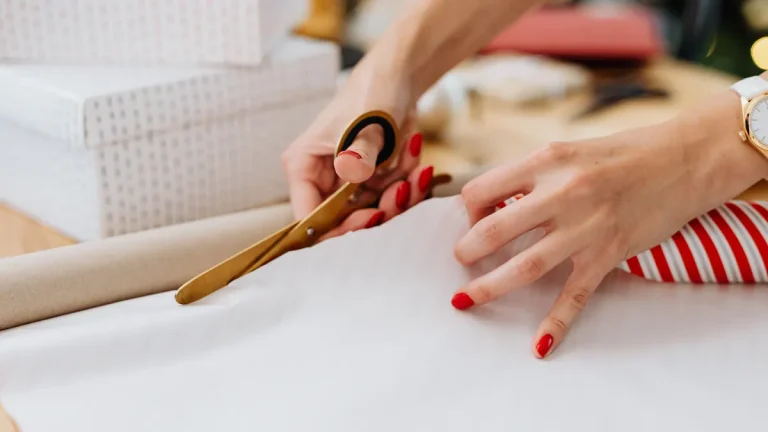
Start by unrolling the paper and placing the box face down in the middle. Pull one side of the paper up and over the box, then bring the opposite side over until the edges meet or slightly overlap. Trim the loose edge so you have a clean seam with that small 2- to 3-inch overlap.
Tape the seam along the center of the bottom of the box. One strip every 6 to 8 inches is usually enough for average-size gift boxes; smaller boxes may need only 2 or 3 pieces total along that seam. The goal is to hold the wrap flat, not to cover it with tape.
Next, turn to the open ends. Push the paper at each side inward toward the box so the top and bottom edges form two diagonal flaps. Press those flaps flat against the end face so they look like a neat diamond or house shape. Creasing with your fingers before you tape makes the corner sharper.
Fold the top flap down first, then the bottom flap up over it. Tape the final flap in place. If the corner looks bulky, trim a small triangle from the extra layer before the last fold. That saves thickness without exposing the box.
A neat wrap usually has three visible signs: the seam sits straight, the corners are crisp, and the end flaps meet without bunching. If the corners pucker, the paper was too loose. If the seam tears, there was too little overlap. Both problems are fixed by recutting, not by adding more tape.
Measure the wrapping paper so you waste less
The easiest way to minimize waste is to cut the paper to the box instead of wrapping from a full, untouched sheet every time. For most rectangular gifts, the roll only needs to be about one box height longer than the box’s full width around the middle.
Place the box on the paper and bring the two long sides up and over it. You want enough length for the paper to meet under the box with a 2-inch overlap. That overlap matters because wrapping paper pulls apart at the seam if the edges are just touching.
For the ends, leave enough extra paper to cover the box face plus the depth of the box on both sides of that face. A good rule is to let the paper extend beyond the end by about the same distance as the box is tall. That leaves room to make the triangular folds without cutting too close.
If the box is especially shallow, you can use less. If it is deep, add a little margin so the end flaps do not fight each other. A box that is 2 inches tall needs less extra paper than one that is 6 inches tall, and the fold shape changes with that depth.
Cutting too generously is the most common waste mistake. It feels safer, but it creates bulky corners and a large offcut. Cutting too tight is worse, because the paper tears when you try to stretch it across the box. A cut that is slightly generous is usually safer than one that is too tight.
A practical habit is to unroll, measure against the box, then add a hand’s width before cutting. That hand’s width is not a fixed standard, but it is usually enough for a medium gift box and avoids the “almost enough” problem that leaves ragged edges.
Fold the corners cleanly

You fold the corners cleanly by making the side paper stand up before you flatten it into a triangle. That one move turns a messy end into a structured fold and is the main difference between a polished package and one that looks stuffed.
After the long seam is taped, hold one open end of the box upright. Push the loose sides inward with your thumbs so the paper collapses along the box edges. This creates two angled wings on each side. Smooth those wings with your fingers so the fold lines run straight from the top corners to the center point of the end.
Now press the top flap down over the end face. The paper should lie flat without wrinkling if the box was measured correctly. Then bring the bottom flap up and overlap it slightly over the first flap. A thin overlap is better than a thick one, because it keeps the end from becoming a bump.
Tape the flap near the center and, if needed, one strip near each side edge. On a medium box, 3 pieces of tape on one end is often enough. On a larger box, 4 may be cleaner, especially if the paper is stiff.
The common mistake here is forcing the corner flat before the side folds are set. That traps excess paper under the flap and leaves a thick ridge. Another mistake is trimming the corner too early; once you cut, you cannot recover extra material. Fold first, inspect the shape, then trim only if the corner is clearly overcrowded.
If the paper is glossy and slippery, hold each fold for 5 or 10 seconds before taping. The crease can set faster than you expect. If the paper is matte or textured, it will usually stay put more easily, but the folds still look better when you press them firmly with the side of a fingernail or a ruler edge.
Tape seams where the gift will look best
You tape seams where the underside or back of the box will hide them, because tape is the one part of gift wrapping that almost always shows. The cleanest package has one main seam along the bottom and one small taped flap on each end.
Start with the long seam. Line the edges up so they meet straight, then apply tape every few inches along the join. If you place the first piece at one end and work across the seam, the wrap stays aligned better than if you tape the middle first and let the ends drift.
Use small tape strips rather than one long strip. Short pieces are easier to place straight, and they are less likely to wrinkle the paper. For a medium box, strips about 1 inch long are usually enough. Long strips are harder to hide and can pull the paper if the gift is opened roughly.
Keep the tape on the paper, not hanging over the edge of the box. Tape that wraps around the corner catches in transit and makes opening harder. If the seam starts to lift, add another small piece on top rather than stretching the first one tighter.
The trade-off with more tape is speed versus neatness. A quick job may need fewer pieces, but a tidy gift needs enough tape to keep every fold flat. Too much tape can leave shiny clutter on the surface, so stop once the edges stay down without lifting.
This is also the step where a box-shaped gift is easiest to rescue if the paper shifted. If the seam is off by less than an inch, you can usually realign it before taping the next section. If it is off by more than that, unwrap that section and reset it. Trying to “fix” a crooked seam with extra tape usually makes it more obvious.
For a final check, turn the gift over and look at the underside. If the seam runs straight and the corners sit flat, the wrap is done well enough to hand over as is.
How do you wrap a present with wrapping paper if the box is awkwardly sized?
You still use the same basic method, but you may need a second cut, a side seam, or a narrower strip to finish a box that is long, shallow, or wider than the roll. This approach is best for nonstandard boxes that are still rectangular, such as a shoe box, a board game, or a book in a rigid carton.
If the box is longer than the paper is wide, wrap the body first and then add a separate piece to cover one end. Match the grain of the fold as closely as you can so the seam does not stand out. A second piece is not ideal, but it is better than pulling the paper tight and splitting a corner.
If one end is much deeper than the other, treat each end separately instead of trying to mirror the same fold. The shallow end will need less paper; the deep end will need more. Forcing both ends into identical triangles often creates an uneven look and wastes several inches of material. If the shape is unusual, it can help to consult a professional gift wrapper or follow the paper maker’s folding guidance.
For very small boxes, the paper can feel oversized and floppy. In that case, cut the sheet down before wrapping. A small jewelry box or gift card box does not need the same spread as a larger package, and excess paper only makes the corners bulky.
The limitation here is obvious: a standard box shape is straightforward, but unusual proportions take more adjusting. Curves, handles, and loose parts usually need a different wrapping approach. Trying to force wrapping paper to behave like a bag usually ends in tears in the material.
Still, for a normal rectangular gift, the process stays the same: measure, cut, fold, tape, and tighten the corners. The less you chase perfection with extra tape, the cleaner the result tends to look.
Finish the package so it opens well later
You finish the package by checking the seams, smoothing the faces, and making sure the taped edges do not block the opening. A present should look polished, but it should still be possible to open without destroying half the wrap in the first pull.
Run your hand once over each face to flatten any bubbles. If a fold is loose, press it down and add a small strip of tape at the edge where the lift begins. Do not add tape in the middle of a face unless it is the only way to hold a stubborn wrinkle down.
Look for sharp points at the corners. If they stick out, tuck them under the nearest flap and tape the tuck in place. A sharp corner that curls outward can snag on shelves, gift bags, or clothing during transport.
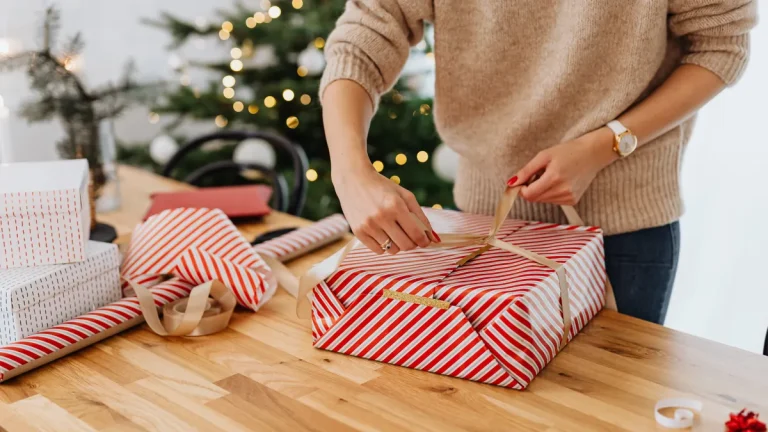
If you plan to attach a ribbon or tag, place it after the wrap is finished. A ribbon can hide a seam line, but it also adds bulk if it is tied too tightly around a soft box. A simple tag near the top edge is often cleaner than a thick bow on a small gift.
The wrapped present should look intentional from the first glance: straight seams, tucked corners, and enough spare paper to keep the package crisp without waste. If you are wrapping several gifts at once, doing the easiest box first is often the fastest way to get back into a rhythm.
Key takeaways
- Start with a box, scissors, tape, and a flat surface that gives you room to fold.
- Cut the sheet to fit the gift with a small overlap instead of guessing from the full roll.
- Make the long seam first, then shape each end into triangles before taping.
- Use short strips of tape and keep them on the underside whenever possible.
- Trim only after a corner looks crowded, not before the fold is set.
- Standard rectangular gifts wrap cleanly; unusual shapes need a different approach.
How much wrapping paper do I need?
You need enough to go around the box once, plus a small overlap and extra length for the ends. A practical way to judge it is to center the box on the sheet, bring the long sides together, and leave about 2 inches of overlap. For the ends, give yourself enough depth to form the triangular folds without stretching the material.
How do you wrap a present neatly?
You wrap a present neatly by keeping the seam straight, folding the ends before taping, and pressing every crease flat as you go. The first 2 or 3 folds matter most, because they decide whether the corners lie smooth or bunch up. Small, even strips of tape help the wrap look cleaner than one oversized strip.
How do you wrap a box without waste?
You wrap a box without waste by measuring against the box before cutting and trimming off only the extra margin you truly need. Leave a small overlap on the long seam and enough paper for the end folds, but avoid generous overcuts. If the box is shallow, shorten the sheet early instead of trying to manage a large offcut later.
Drafted with AI; not yet reviewed by a person.