How to Wrap Gifts for Shipping
Last updated: October 30, 2026
Quick Answer: How to wrap gifts for shipping takes about 1 to 2 inches of cushioning on each side, a corrugated box, and a strong tape seal. If you need the gift to arrive intact, build protection first and decoration second.
Key Takeaways
- Pack a shipping box, bubble wrap, packing tape, and void fill before handling the gift.
- The aim is protection, not decoration, so the package survives impact and compression.
- The inner layer cushions the gift if the outer box is dropped or stacked.
- Use a corrugated shipping box for anything crushable, not a bag or soft mailer.
Shippable gift packaging is the difference between a neat reveal and a crushed mess. If the gift has to arrive looking intentional, the job is not to “wrap it prettily” first; the job is to build a protective package around it, then make the outside hold up through sorting, stacking, and transit. For how to wrap gifts for shipping, the safest approach is a rigid outer box plus cushioning that keeps the item from moving.
What you need before you start
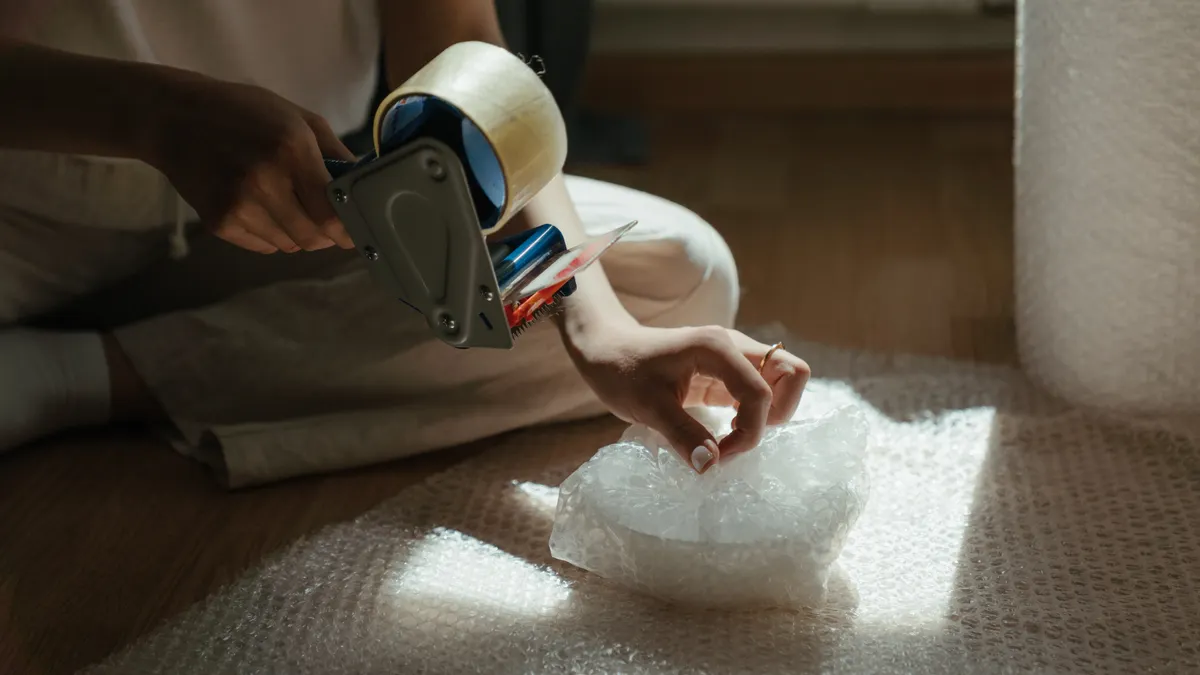
You need a shipping box, bubble wrap, packing tape, and void fill before you touch the gift itself. A simple setup is enough: one sturdy corrugated box, a roll of 2-inch packing tape, small- or medium-cell bubble wrap, and crumpled kraft paper or another filler that keeps the item from moving more than about 1 inch in any direction.
Pick the box by size, not by hope. If the gift can slide around, it can get scuffed, bent, or broken. If the box is too large, you will waste fill and create more crush space. A tight fit with room for cushioning is the target.
If the gift is already wrapped decoratively, decide whether the reveal matters more than the exterior decoration. For fragile items, the reveal inside the box matters more. If the outer look matters too, route to your present-wrapping page first, then come back here for the shipping layer.
Two authoritative references are worth keeping in mind while packing: UPS’s packaging guidance and FedEx’s packaging tips. Both stress rigid outer packaging, internal cushioning, and movement control inside the box. The details differ by carrier, but the principle is the same.
How do you wrap gifts for shipping?
You wrap gifts for shipping by cushioning the gift, sealing it in a strong inner layer if needed, boxing it so it cannot move, and protecting the label area on the outside. The goal is not decorative wrapping; it is a package that survives impact, compression, and handling.
- Choose the smallest box that still leaves room for cushioning. Put the gift inside with at least 1 to 2 inches of padding on every side for most non-fragile items, and more for glass, ceramics, or anything with corners. When this works, the item sits centered rather than touching a wall.
- Add an inner wrap around the gift. Use bubble wrap for breakables, a padded mailer for small soft items, or tissue over a decorative wrap that you want to preserve. Tape the inner wrap only where needed so you do not damage the item underneath. A good result is a smooth bundle with no hard edges exposed.
- Fill dead space inside the box. Place crumpled paper, air pillows, or other void fill around the item so it does not shift when the box is shaken. If you close the lid and hear movement, add more fill. The box should close flat without bulging.
- Seal the box with packing tape in a strong pattern. Tape the center seam and the two edge seams on top and bottom, using long strips that overlap by a few inches. A well-sealed box does not pop open at the corners when lifted.
- Cover or remove old labels and barcodes. If you reuse a box, hide every previous shipping label and barcode with tape or a marker before adding the new label. A clean label panel reduces routing errors and misreads.
- Place the shipping label on the flattest top surface. Keep it away from seams and curved edges, and do not wrap tape across the barcode if you can avoid it. The label should sit flat and scan cleanly.
- Shake-test the finished box gently. If anything rattles, reopen it and add fill. A quiet box is usually a safer box.
That process works for most gifts going by ground service or standard parcel shipping. It is not the right method for oversized, awkward, or unusually fragile objects that need custom crating or a specialist shipper.
Build the protective inner layers first
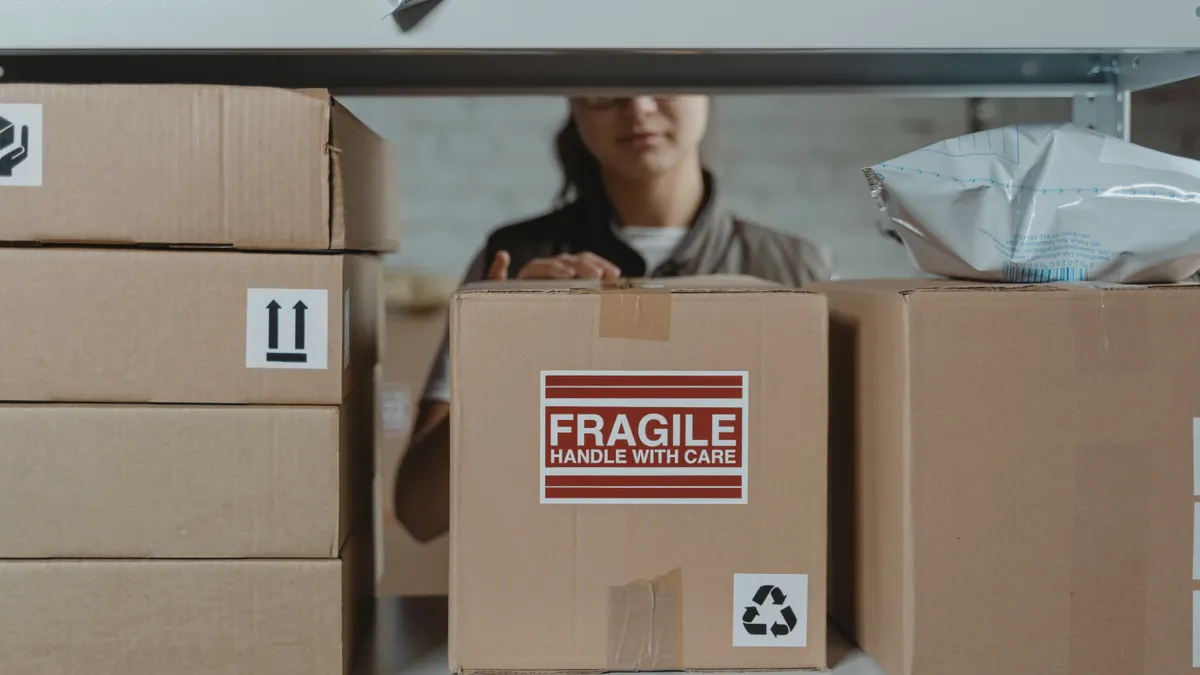
The inner layer is what saves the gift when the outer box gets dropped from a conveyor or pressed under other parcels. A good inner layer often uses at least 2 inches of cushioning material around fragile surfaces, though the exact amount depends on the item’s weight and shape.
Start with the most fragile part of the gift. Glass, glaze, corners, and decorative attachments need the most padding. Wrap those surfaces first, then build outward. For a framed item, protect the corners separately before wrapping the whole face. For a box of chocolates or a soft garment, the inner layer can be lighter, because the damage risk is compression rather than breakage.
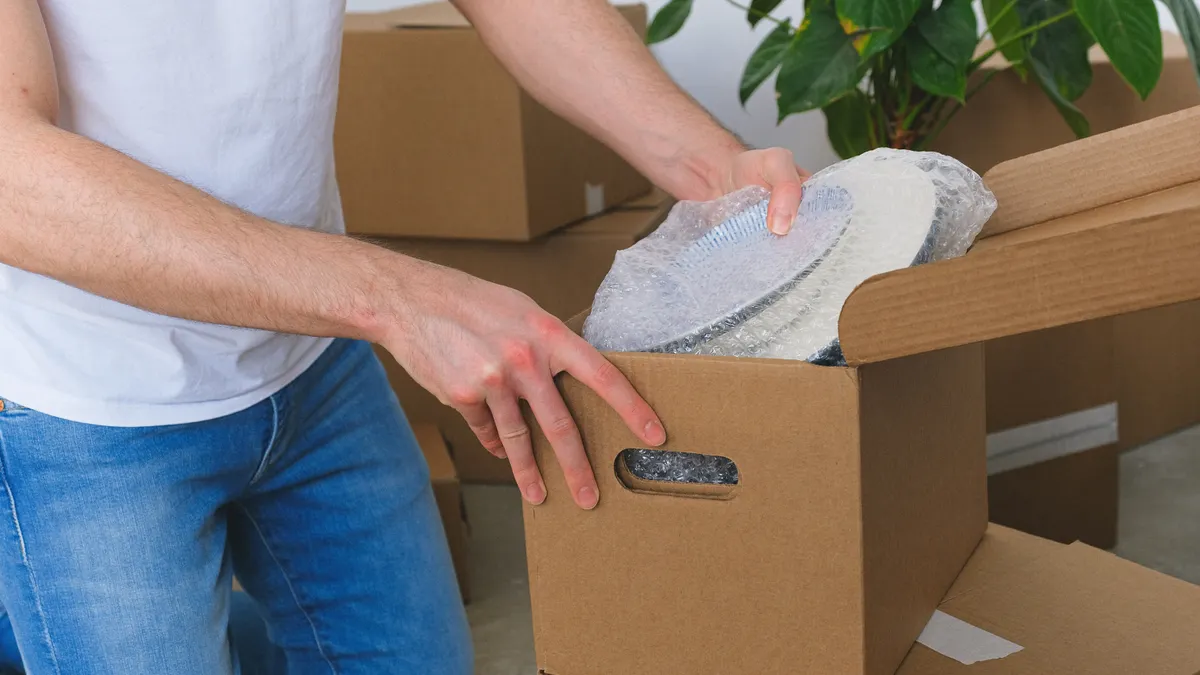
Bubble wrap is the default for breakables because it adds air pockets and creates a buffer against impact. Use the bubbles facing in or out if you want; the more important point is complete coverage and enough turns to keep the item from pressing through. For a ceramic mug, a few full turns are better than one loose layer with exposed handles. Tape the wrap only so the bundle stays closed, not so tightly that tape sticks to the item.
If the gift is already inside another box, that smaller box becomes the inner layer. Wrap that small box before placing it in the shipping box, especially if the contents can shift inside it. A nested-box setup is useful for fragile gifts because it gives you two chances to stop movement.
Do not skip the inner layer just because the outer box looks sturdy. The shell of the box handles stacking; the inner wrap handles impact. Without both, the package is only half prepared.
How to choose the right outer box
The right outer box is a corrugated shipping box, not a gift bag, shopping bag, or soft mailer for anything that can be crushed. A standard corrugated carton gives the parcel the rigid shape that carriers expect and helps keep the label readable.
Choose a new box if the contents are fragile, valuable, or heavy for their size. Reused boxes are fine when they are clean, dry, and structurally sound, but every crease weakens the board. If the box has soft corners, torn flaps, or old tape that will not hold a seal, replace it. A box that fails under pressure makes the rest of the wrapping work pointless.
Match the box size to the package shape. A long narrow gift in an oversize cube wastes void fill and increases the chance of shifting. A very tight box can crush cushioning, which removes the shock absorption you needed. The goal is a centered item with enough fill to immobilize it.
For small gifts, a mailer can work only when the contents are soft and non-fragile, such as clothing or sealed accessories. If the gift can bend, chip, dent, or crack, use a box. That choice is not about style; it is about structure.
If you are mailing more than one item, separate them inside the box. Two objects that touch can damage each other even when the outer carton survives. Wrap each item on its own, then pad between them.
Seal the box so it survives sorting
A sealed box survives shipping when the tape holds the seams and the flaps stay flat. Use pressure-sensitive packing tape, not masking tape, painter’s tape, or decorative tape. Packing tape is made for carton closure; the others are not.
Use a simple H-tape pattern on the top and bottom: one strip over the center seam, then one strip across each edge seam. For a heavier box, add extra strips parallel to the center seam. Press the tape down firmly along the full length so the adhesive bites into the cardboard. If a flap lifts after you press it, the seal is weak.
Do not overpack the box to the point that the flaps bow upward. A bulging carton can burst at the seams, and the shipping label may wrinkle or lift. If the lid will not close without force, move the contents to a larger box or remove some filler and repack more neatly.
Protect any fragile inner package from direct tape contact if you expect the box to be opened and reclosed. You want the shipping tape to stay on the outside walls, not on the gift itself. That makes unpacking cleaner and should reduce the chance of damage when the recipient opens it; if the item is unusually delicate, consult a professional packer or the carrier’s packaging guide first.
A well-sealed box should feel firm when you lift one edge. It should not sag, flap open, or sound hollow with loose motion inside it.
Where should the shipping label go?
The shipping label should go on the largest flat surface, usually the top of the box, and nowhere near a seam or corner. A flat label scans better, stays visible, and is less likely to peel during transit.
Keep the label off taped seams if possible. Tape over the label can cause glare or scanning problems, especially if it crosses the barcode. If you must protect the label from moisture, use a clear pouch or place clear tape only on the edges after the barcode is fully printed and flat.
Remove or cover every old address label on a reused box. Even one readable barcode can send the parcel to the wrong place. Cross out old markings completely, including barcodes on the bottom or sides.
Do not wrap the box in plain brown paper unless the carrier allows it and the paper will not tear. Paper can rip in conveyors and hide seams that need to stay visible. A shipping box already gives you the right outer skin; the label belongs on that skin.
If the package contains a gift that should not be opened until a specific date, that is a separate instruction for the recipient, not a shipping label note. Keep the label clean and functional so the parcel gets there first.
Common mistakes that ruin the reveal
The biggest mistake is letting the gift move inside the box. Movement turns a neat package into a damage lottery. If the item rattles, the void fill is wrong or insufficient. Repack until the item stays centered and quiet.
The next mistake is using the wrong outer packaging. A thin retail box, a gift bag, or a padded envelope can work for light soft goods, but they are poor choices for anything with edges or weight. The cost is easy to predict: dents, crushed corners, or a broken item.
Another common failure is sealing only the top and forgetting the bottom. Packages get dropped and stacked from every angle. If the bottom seam is weak, the contents can escape before the box reaches the recipient.
Old labels also cause trouble. Reused cartons often carry ghost barcodes, shipping stickers, or marks from a previous trip. Those marks confuse sorting equipment and human handlers alike. Cover them completely before adding the new label.
Finally, many people overdecorate the outside and underprotect the inside. Ribbons, bows, and custom paper can look nice, but they do not protect against a 4-foot drop or a heavy box stacked on top. Save decorative finishing for the gift inside the parcel, not as a substitute for packing.
A simple packing sequence for fragile gifts
The cleanest method is to assemble the package in this order: inner wrap, box insert, void fill, seal, and label. That sequence keeps you from reopening the box to fix a problem you could have prevented.
For a fragile mug, for example, wrap the mug in bubble wrap, place it in a small inner box if available, then place that box inside a larger corrugated shipping box with 1 to 2 inches of filler on every side. Seal the outer box with packing tape, then put the label on the top face.
For a framed photo or small artwork, protect the corners first, add a flat wrap layer, then place the item between cardboard panels before boxing it. The panels stop bending better than loose filler alone.
For soft gifts like clothing, the main risk is not breakage but compression and moisture. A plastic inner bag can help, but do not seal wet or damp fabric inside one. The item should be dry before you close the box.
Once the clothing is compressed and dry, the goal is to keep it from shifting and to keep moisture out. The result you want is simple: a parcel that feels solid, looks plain enough to ship, and still lets the person opening it find the gift in the same condition you packed it.
Can you wrap a gift before shipping it?
Yes, but only if the decorative wrap sits inside a protective shipping box. A wrapped gift by itself usually is not enough for transit because the outer layer tears, stains, or crushes easily. If appearance matters, place the wrapped gift inside a second box with cushioning so the reveal survives the trip.
How do you protect wrapped gifts in transit?
Protect wrapped gifts in transit by giving them a rigid outer carton, 1 to 2 inches of cushioning, and no room to shift. Bubble wrap, void fill, and a strong tape seal do the heavy lifting. If the outer wrapping is decorative, keep it as an inner layer and do not rely on it to stop impacts.
Should you use a box or mailer for gifts?
Use a box for anything fragile, heavy, or likely to dent, chip, or bend. Use a mailer only for soft, low-risk gifts such as clothing or flat accessories. The right choice is the one that keeps the item from being crushed; for most gifts with a reveal to preserve, the box is the safer option.
Drafted with AI; not yet reviewed by a person.